Each month we spotlight a different CFA athlete who stands out and shows just how awesome they are. What is it that makes up an Athlete of the Month? It may not be the person that finishes the fastest, Rx’s every WOD, or gets a PR every time they walk in the gym. Although we love and celebrate when those things happen, the Athlete of the Month is made up of much more than physical ability. This person shows up, gives their best every time, and then gives a little more. They are hungry to learn and always ready to do the work. They support their fellow classmates and encourage them to reach their goals. This athlete embodies what we believe the CrossFit Austin Community should be about.
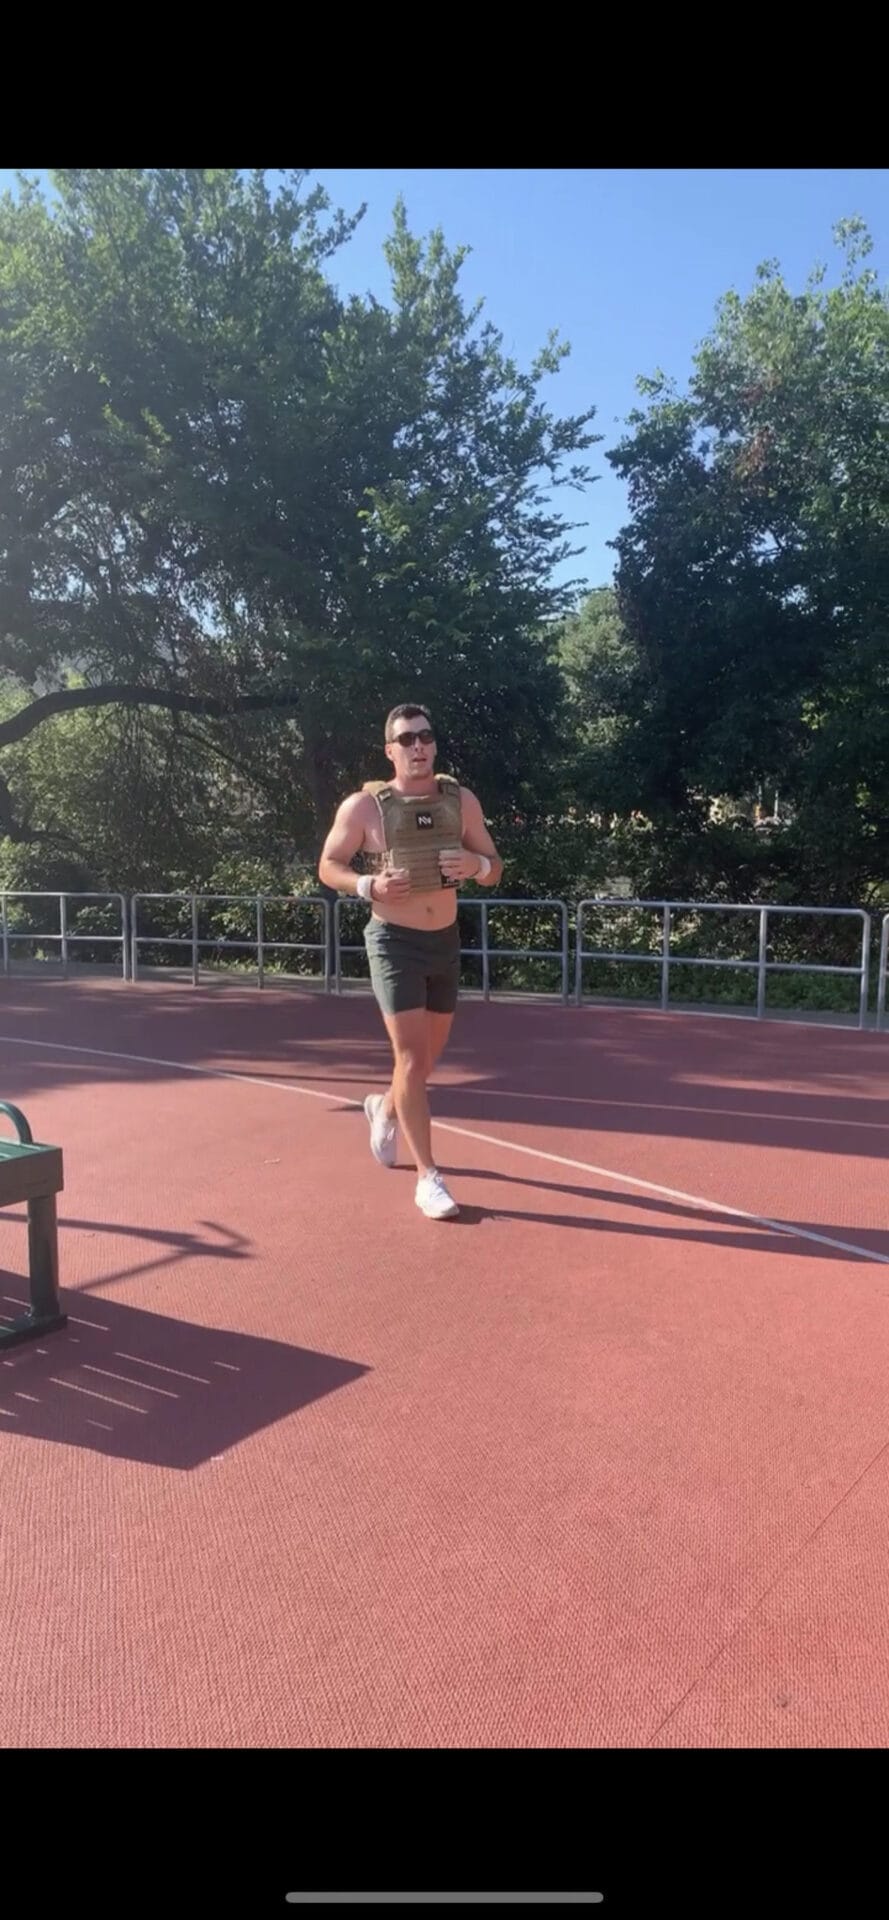
Our November Athlete of the Month is Matt Cleaver! Matt joined the CFA Family just before the shut down, but that did NOT stop him from finding a home with us right away! He was super engaging and consistent with our zoom classes at the time and fell right into place with the whole community when we came back together. He has been a welcoming face ever since! Matt came to us with a solid background, but hasn’t slowed down on his progress one bit! He’s always working to be better and to push toward that next goal. Matt also has a way of helping to bring out that little bit of extra inside his fellow classmates too. We’ve loved being part of the journey with him and celebrating the wins along the way! Matt, we are honored to have you as our November Athlete of the Month and as an awesome part of this team. Thanks for your all your hard work and we look forward to seeing all you accomplish in the years to come! Congratulations!
State your Name and/or Nickname please: Matt Cleaver aka Cleaver
Words to live by? The road of life is always under construction. Remain humble.
What is your fitness background?
My primary athletic background has been with running. I began training/running competitively starting in my freshman year of high school, and was awarded a scholarship to run at the University of Georgia. After graduation, I ran professionally for 3 years.
How long have you been CrossFitting?
About 3 years.
Take us back to your first day of CrossFit… How did you feel? How do you compare it to workouts today?
It was not completely novel to me, as I had weight training in the past, and had a solid endurance foundation. However, the Rx weights, movements, and olympic lifts were a humbling experience, especially snatches. Fast forwarding to today, I can Rx almost every workout, and I love me some snatches!
What’s your favorite part of CrossFit Austin? Many of you have heard me say this, but the diversity of the gym is amazing, and I cherish that everyone is simply here to better one another. There are many folks with a variety of athletic, and cultural backgrounds. We all need that exposure.
Current Training Goals/PRs?
Consistent training has been tough due to our new addition to the family. However, my goal is to power clean 225#, snatch my body weight, and butterfly pull-up consistently. Oh…and beat Josiah and Brandon in more workouts.
What advice do you have for folks just starting out in CrossFit?
Get involved with the gym community. That’s what makes this sport so special. The lifting, and the WODs can be humbling, but with all new things it takes time and commitment. Most of all, have fun with it!
How do you balance staying focused in your training when life gets busy?
This is a tough one, because my family is my utmost priority. However, I have goals in mind and those won’t be achieved if I’m not training.
What is your cheat meal go-to?
Queso and margaritas. It’s hard to beat that combo. I mean, come on…this is Texas for goodness sake.
How do you use your fitness outside of the gym? Well…I can properly move furniture without hurting myself. Haha! Seriously…I get into a deadlift position to ensure I save my back!
What are the biggest challenges you’ve faced in your fitness journey?
My nutrition and patience. Many of the gym goers know I lose my mind when I’m not hitting double under or snatches that day. It’s kind of embarrassing really. I suppose I can get too passionate 😉
Tell us about a moment you felt most proud of yourself during a workout. This happened at my old gym, but the day I learned how to rhythmically do toes to bar, and another day I did my first muscle up.
If you could create a WOD and name it for yourself, what would it be?
10 min AMRAP:
200m run
5 snatches
5 muscle ups
What keeps you going on the days you don’t feel like it?
I tend to tell myself, “there is someone out there training harder than you are. Do you think they are taking days off?”
What are your hobbies, interests and/or talents outside of CrossFit?
Despite how bad I am at it, I love to golf. I also enjoy mountain biking, and snowboarding.
Tell us something we don’t know about you…
I was baptized in the Jordan River (where John the Baptist baptized Jesus) by my dad. One of the most incredible experiences that I just love sharing about.
Leave the fine folks of CrossFit Austin with some parting words…
Thank you for being authentic and pushing everyone to better themselves. I can’t help but get a sense of happiness when I see everyone cheering for each other. You’ve all made this sport a true pleasure to indulge in.
Each month we spotlight a different CFA athlete who stands out and shows just how awesome they are. What is it that makes up an Athlete of the Month? It may not be the person that finishes the fastest, Rx’s every WOD, or gets a PR every time they walk in the gym. Although we love and celebrate when those things happen, the Athlete of the Month is made up of much more than physical ability. This person shows up, gives their best every time, and then gives a little more. They are hungry to learn and always ready to do the work. They support their fellow classmates and encourage them to reach their goals. This athlete embodies what we believe the CrossFit Austin Community should be about.
Our October Athlete of the Month is Melissa Barker! Melissa joined the CFA Family a little over a year ago, but she was no stranger to movement prior to that. Melissa is a strong mover and athlete, but she’s always pushing for growth and toward the next goal in class! She is a pleasure to chat with and will make you feel at home as soon as you walk into the gym with her! We’ve loved being part of the journey with her and celebrating the wins along the way! Melissa, we are honored to have you as our October Athlete of the Month and as an awesome part of this team. Thanks for your all your hard work and we look forward to seeing all you accomplish in the years to come! Congratulations!
State your Name and/or Nickname please:
Melissa Barker
What is your fitness background?
I grew up doing gymnastics until I was eight and then I started dancing competitively through high school and college.
How long have you been CrossFitting?
About seven years
Take us back to your first day of CrossFit… How did you feel? How do you compare it to workouts today?
I was obviously nervous to try something new, but had met some of the other gym members before at social events so it was slightly easier to join in. I remember the workout then being really difficult, and it still would be now. You get better at CrossFit, but there are always new ways to challenge yourself.
What’s your favorite part of CrossFit Austin?
What initially drew me into CFA is how well-run the gym is, and what has made me stay is the community. Oh, and Thirsty Thursdays
Current Training Goals/PRs?
I’m focusing on solid technique in my Olympic lifting. Dylan has been a huge help!
What advice do you have for folks just starting out in CrossFit?
Show up. Be consistent. Don’t be afraid to ask questions.
How do you balance staying focused in your training when life gets busy?
CrossFit is my mental and physical break during the day. It’s really important to me to make sure I get to the gym, so I’ll schedule it in to make it happens.
What is your cheat meal go-to?
Taco Bell and Champagne!
How do you use your fitness outside of the gym? Whenever I try something new, I never have to consider I “can’t” because CrossFit has helped to make me functionally well-rounded. I can easily travel and hike for miles or decide to SUP for hours.
What are the biggest challenges you’ve faced in your fitness journey?
I’ve had multiple surgeries and it’s hard to be patient during the recovery. It is nice to know that CrossFit is adaptable so you can likely get some type of workout even if it is different from what the rest of the class is doing.
Tell us about a moment you felt most proud of yourself during a workout.
I put a lot of time working on muscle ups outside of class, so the first time I got to do it during a WOD was a really proud moment.
If you could create a WOD and name it for yourself, what would it be?
I like a quick burner with a heavy barbell and gymnastics, so probably 21-15-9 of power cleans and handstand push-ups.
What are your hobbies, interests and/or talents outside of CrossFit?
I like to spend time with my family and friends and explore the city by taking in all of the good food and drinks it has to offer!
Tell us something we don’t know about you…
I was top ten in the country in dance during high school.
Leave the fine folks of CrossFit Austin with some parting words…
Teams of 2 – Male/Male or Female/Female – Need a partner? Throw your name on the partner sign up sheet under the whiteboard and we’ll make some matches!
Rx & Scaled Divisions available!
***JUDGE AND VOLUNTEER REGISTRATION – We need help! If you’re not interested in competing, but would like to help us out, click the link below and register to judge/volunteer! We’ll make sure you have ALL the tools and info you need. We can’t make these things happen without y’all!***
Night of Champions will consist of 2 WODs
PART 1 – A test of skill &/or strength PART 2 – A test of teamwork and conditioning
Movements will be announced 2 weeks out and final workouts announced 1 week out. Stay tuned!
FRIDAY OCTOBER 22, 2021
6:30 pm – Athlete Check-In 7:00 pm – PART 1 Start Time
$50 per Team (this includes registration for both team mates) Only 20 spots available!
This year, you get to choose where your registration fee goes! Historically, the funds have gone to a pot for the gym and you get to choose what we purchase for the facility! This time though, you get to choose between putting your registration proceeds toward the gym OR as a donation to Barbells For Boobs during Breast Cancer Awareness month!
Each month we spotlight a different CFA athlete who stands out and shows just how awesome they are. What is it that makes up an Athlete of the Month? It may not be the person that finishes the fastest, Rx’s every WOD, or gets a PR every time they walk in the gym. Although we love and celebrate when those things happen, the Athlete of the Month is made up of much more than physical ability. This person shows up, gives their best every time, and then gives a little more. They are hungry to learn and always ready to do the work. They support their fellow classmates and encourage them to reach their goals. This athlete embodies what we believe the CrossFit Austin Community should be about.
Our September Athlete of the Month is Griffin Stuesser! Griffin joined the CFA family at the beginning of the year and has found a solid spot with the 5:30 am “Cash Out Crew!” Not only is he a Texas boy through and through, he was actually one of the rare “born and raised” in Austin! Griffin’s friendly attitude is a warm welcome to those showing up to get the work done before the sun comes up! We, as coaches have really enjoyed his focus and attention to detail as he works to progress and grow as an athlete. We’ve loved being part of the journey with him and celebrating the wins along the way! Griffin, we are honored to have you as our September Athlete of the Month and as an awesome part of this team. Thanks for your all your hard work and we look forward to seeing all you accomplish in the years to come! Congratulations!
State your Name and/or Nickname please: Griffin Stuesser / good friends call me Griff or Stuess!
Words to live by? Control what you can control
What is your fitness background? I grew up always playing sports. In high school, I played Football and Baseball, almost played football in college but decided to go the big university route. Still dabble in some rec league flag-football and softball.
How long have you been CrossFitting? I originally picked up CrossFit in high school while training for football. Took about 7 years off and recently picked it back up in Jan ’21.
Take us back to your first day of CrossFit… How did you feel? How do you compare it to workouts today? It was very…hard. But I knew I was hooked, mainly because of the challenge, the coaches, the other folks in the gym and the atmosphere. I still get humbled daily by workouts but I’ve learned more about my body and when to push and when to ease up, making the workouts extremely fun (and still hard)
What’s your favorite part of CrossFit Austin? My favorite part is easily the coaches and members. I’ve always enjoyed traditional sports and CFA gives me the team atmosphere, the competition and the accountability that I was missing for a long time in my fitness journey.
Current Training Goals/PRs? I have a few goals but the one that stands out is improving my rowing. Focusing on my form and technique.
What advice do you have for folks just starting out in CrossFit? Go at your own pace. What works for some people doesn’t work for others. Listen to your body, ask your coaches questions and just have fun. Fitness shouldn’t be a chore or a thing you have to do, but rather something you look forward to. I’m really thankful for all the attention to detail from the coaches and encouragement from the members.
How do you balance staying focused in your training and in your life? Balancing fitness with your daily life is not easy. But if you commit to making it a priority it will ultimately glue itself into your routine which I think is the key. When I go too long without exercise it has a negative impact on almost all other parts of my life.
What is your cheat meal go-to? I’m born and raised in Austin. I could eat Tex-Mex or BBQ on ANY occasion.
How do you use your fitness outside of the gym? I like to apply fitness in any way I can, it helps me on the golf course, general outdoor activities. It also plays a big role in my mental sharpness at work.
Tell us about a moment you felt most proud of yourself during a workout. My most memorable moment was my first bar muscle-up. I could never do them while I trained in high school and I’ve recently been able to incorporate them in some workouts. It was a very proud moment for me.
What are the biggest challenges you’ve faced in your fitness journey? Early on in CrossFit, I was too focused on competition and “winning a workout”. I’ve now learned there’s a lot more to it. I like to focus now on just competing against myself and trying to get better week over week. At the moment that looks like improving form and strength.
If you could create a WOD and name it for yourself, what would it be? The workout would be called “Whiskey River” (one of my favorite songs). It would likely be an AMRAP involving some sort of barbell cycling and gymnastics movement. Those types of workouts are the most fun for me.
What keeps you going on the days you don’t feel like it? The biggest thing is the people I work out with. They are in there day in and day out, and whether they know it or not their commitment to showing up, holds me accountable. We’re in this together!
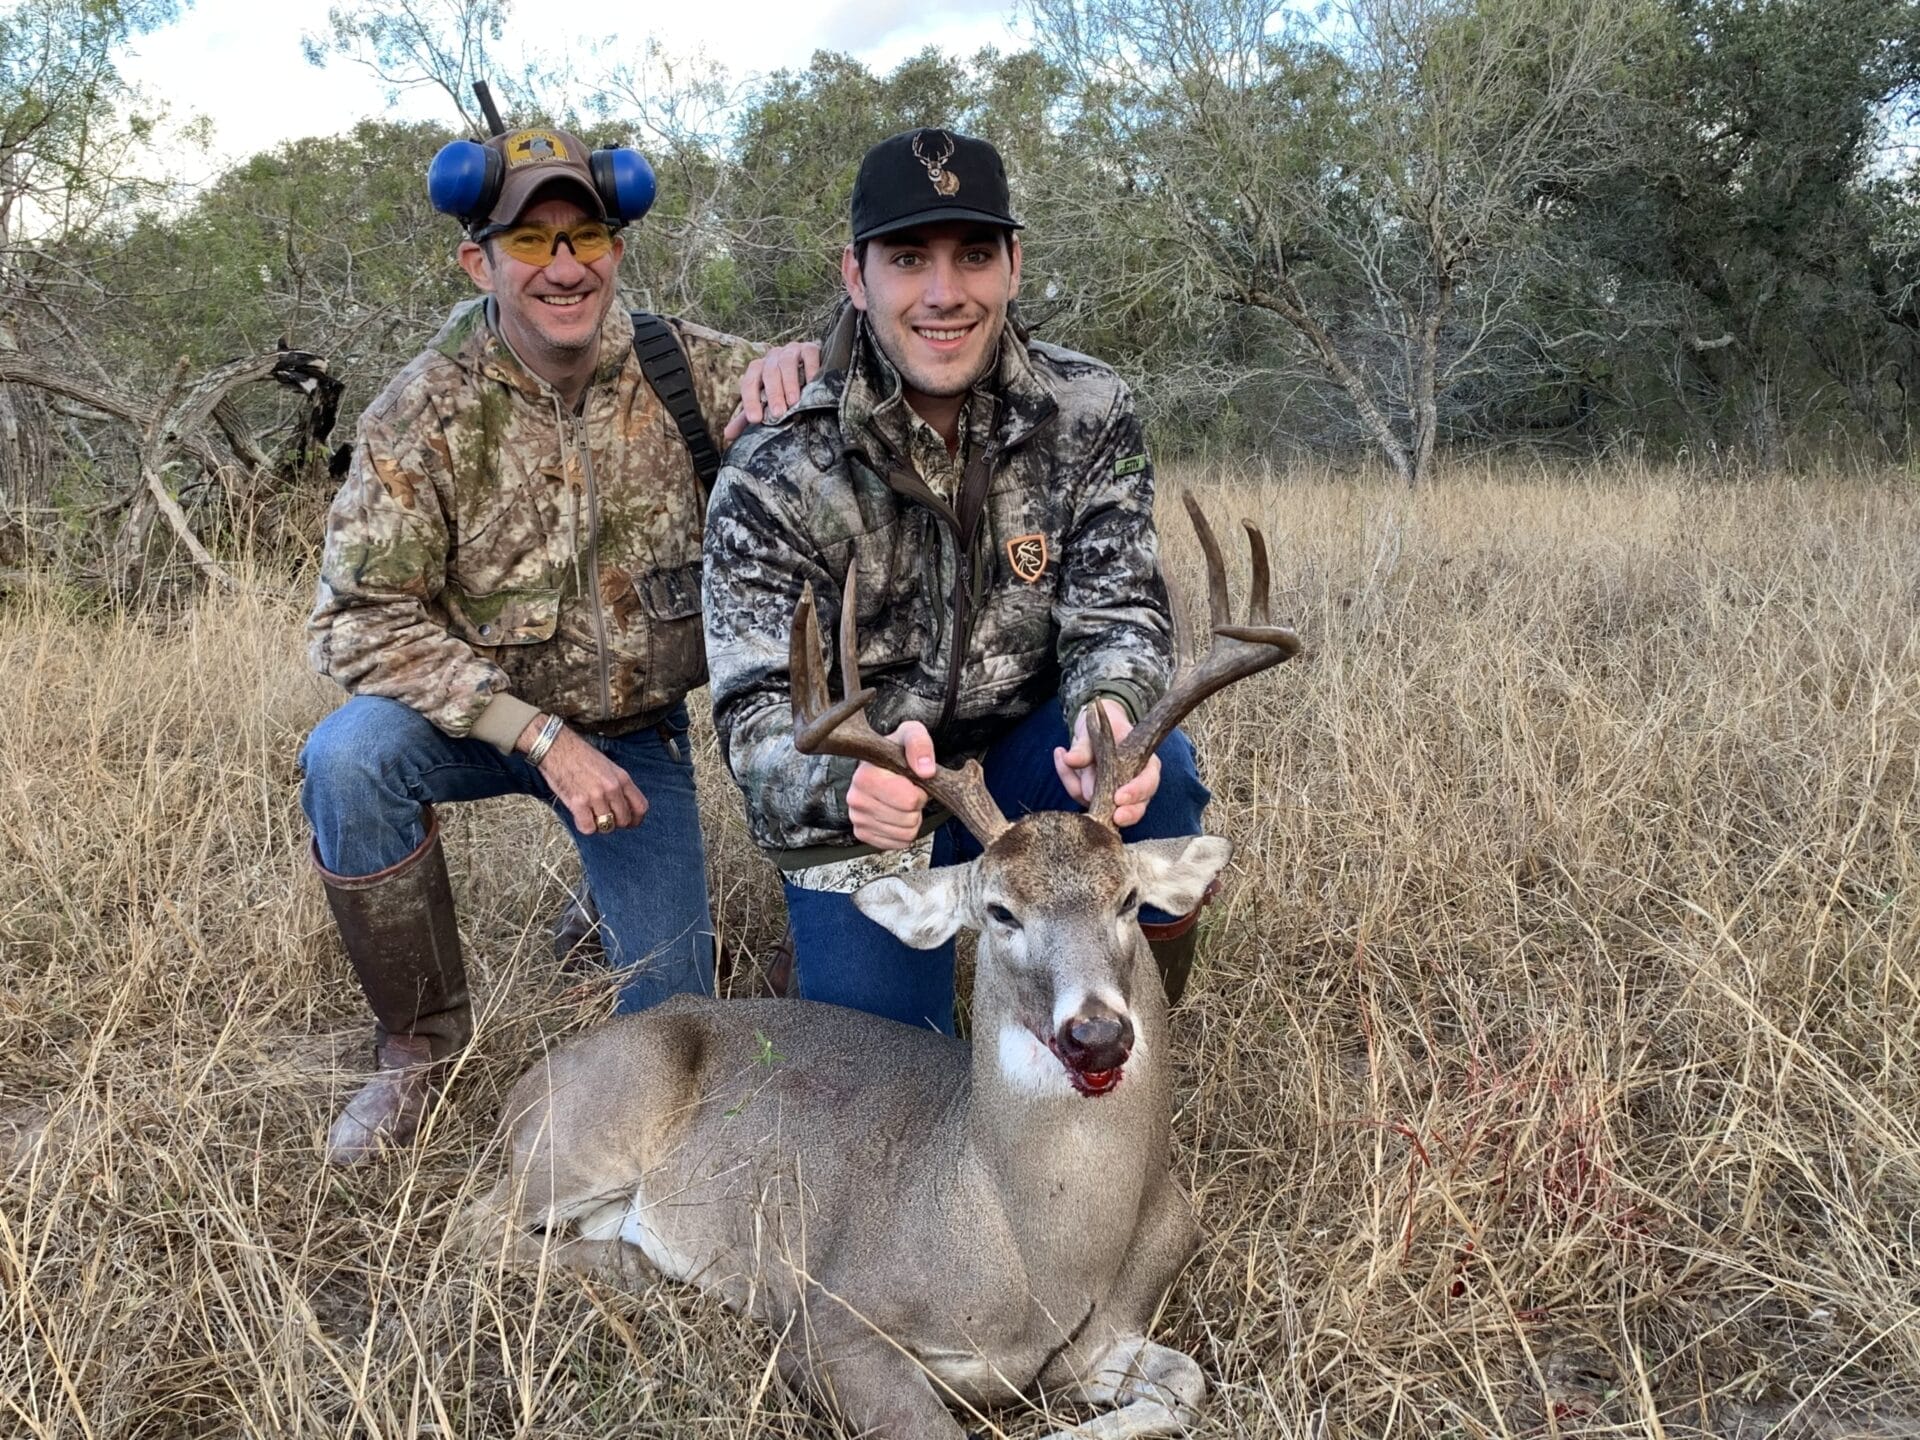
What are your hobbies, interests and/or talents outside of CrossFit? I’m a huge football fan (Texas Tech and Dallas Cowboys). I love to hunt, play golf, spend time on the lake and be with friends and family. I also enjoy smoking meats…big BBQ guy!
Tell us something we don’t know about you… I was a very active child and have broken over 10 bones in my lifetime…
Leave the fine folks of CrossFit Austin with some parting words… “What affects an outcome more than anything else is effort and attitude”. – Mike Leach
Have you ever walked into the gym, looked at the board and said “WHYYYYYYYY?!” You know you have 😉 Well, because it fits into our greater macro calendar for the year (and because that’s what you’re here for, right?!)! You may not know this about CFA, but our programming has 3 seasons to it. We don’t mean “spring, summer, fall” (winter is for states other than Texas)… No, our seasons help to give some focus and intent to your training, keep you from getting bored, and help push you to find new goals and things to train for!
Generally Speaking
Our programming is meant to help people get fit as quickly as possible, while still keeping things safe and fun with a focus on longevity and overall WELLNESS. That said, we recognized early on that having some general ‘themes’ or ‘seasons’ throughout the year helps keep things interesting while preserving the primary stimulus of building better, stronger, healthier humans.
The Open
While some gyms do not focus on the CrossFit Open and many athletes don’t officially register, it is still a great time of year to focus on ‘functional fitness’ as a sport and challenge yourself to put your skills to use! Starting in December, you’ll start to see some additional work sprinkled in to help have a good showing on the leaderboards.
For example, throughout the year, you may only see chest to bar workouts about once per month (in addition to 2-3x kipping pulls, once for weighted pull ups, once for strict pull ups, and 1-2x ring rows). But, going into the Open we start to increase the number of skill practice sessions and metcons with chest to bar in anticipation of seeing them in the Open. There is nothing wrong with chest to bars, but we must keep in mind that they were ‘invented’ for the sport of fitness at the 2008 CrossFit Games as a way to make pull ups easier to judge (they made people do “Fran” with chest to bars to combat the fact that people were starting to do ‘butterfly pull ups’ – confounding the judges).
Other movements that will increase slightly are toes to bar, burpees, double unders, and other movements that aren’t necessarily a critical part of general fitness, but play a large role in the Open.
You’ll also notice the strength focus (and other skill work) flows so that people get the maximum benefit going into the Open (this is especially true for things like muscle ups).
Running
During the December to March months, there is a bit of a ‘de-emphasis’ on running. This is partially due to the fact that running is not likely to play a large role in the Open, and partially due to the fact that it’s colder (and generally wetter) outside during these months which means outdoor running is not as feasible.
To compensate for this, you’ll see running workouts increase a bit after the Open. We’ll see more running workouts, and longer runs in the workouts, from April – July. We encourage our folks to sign up for some sort of running event (like Murph, a 5k, a Spartan/Tough Mudder, or a Triathlon), in May through July or August.
Signing up for these events is a great way to have some focus to your training and to remember we aren’t just trying to get ‘gym fit’, but to be “fit for life.” It’s about SO MUCH MORE than just the hour in the gym, y’all!
Barbell
Starting in August, we’ll see an uptick in barbell work. A bit more lifting, but a lot more barbell skill work. When you see a skill piece that involves building to a ‘challenging’ weight, DO NOT confuse this for strength work! These sessions are meant to help you practice the movements with additional weight, not see how heavy you can go.
The plan here is to encourage you to sign up for a barbell sport (like an Olympic Weightlifting meet!) or a CrossFit competition in October – December. That’s why we generally run a Night of Champions event in the fall! (Stay tuned for details!) You also usually see Grace as the Barbells for Boobs workout in October as well as a part of Breast Cancer Awareness Month.
Focusing a bit more on the barbell lifts is also a great foundation before going into the next Open season. Progressing in your lifts will give you an easier time when the Open rolls around.
Overall Notes
The shifts in the programming are usually pretty subtle unless we announce it. They are ‘shades of grey’ instead of ‘black and white’. We still want to preserve the main goal of getting people generally fit for life, and not be forced into a regimen that isn’t aligned with their goals. While competitions are a great goal to work toward, it shouldn’t be your ONLY goal!
Every part of life goes through ‘seasons’ so it’s only appropriate that your training does as well. We hope this gives you a little insight into what a year with us looks like and can help you to set goals for now and goals for the coming seasons. If you need some guidance as to how to navigate the changing seasons, hit up your coach! We are here to help you!
Non-exercise activity thermogenesis (NEAT) is the energy expended for everything we do that is not sleeping, eating or sports-like exercise. It ranges from the energy expended walking to work, typing, performing yard work, undertaking agricultural tasks and fidgeting. Even trivial physical activities increase metabolic rate substantially and it is the cumulative impact of a multitude of exothermic actions that culminate in an individual’s daily NEAT. It is, therefore, not surprising that NEAT explains a vast majority of an individual’s non-resting energy needs. Epidemiological studies highlight the importance of culture in promoting and quashing NEAT. Agricultural and manual workers have high NEAT, whereas wealth and industrialization appear to decrease NEAT. Physiological studies demonstrate, intriguingly, that NEAT is modulated with changes in energy balance; NEAT increases with overfeeding and decreases with underfeeding. Thus, NEAT could be a critical component in how we maintain our body weight and/or develop obesity or lose weight. The mechanism that regulates NEAT is unknown. However, hypothalamic factors have been identified that specifically and directly increase NEAT in animals. By understanding how NEAT is regulated we may come to appreciate that spontaneous physical activity is not spontaneous at all but carefully programmed.
It’s been a few years since I’ve made the time to go hiking on a weekly basis. The excuses can mount up…time, heat, trails getting more crowded, distance, etc., I used to love finding solitude and getting “lost” in nature. I’d let my mind wander and wonder, which was meditative and therapeutic. I still treasure that solitude and meditative mind wandering. It’s when I do my best planning, or come up with new ways to approach something.
Nowadays, in an effort to combine my active meditation and double down on my time, I have substituted my weekly hike for yard work. Some days it’s swinging the weed-eater or trimming branches. Other days it’s carrying the watering can, or turning the compost…or all of the above. I am outside, breathing fresh air and I enjoy it. Noah will go to bed (first attempt) and I’ll go out and water the plants, and watch the fireflies as the sun goes down.
While it may be termed “yard work”, it is a huge portion of my NEAT. It’s something that I enjoy and it doesn’t feel like work. It doesn’t take the place of my workout. It’s an addition to my life which also happens to serve another purpose. A greater purpose in my opinion. I’m learning and cultivating an environment which allows me to grow food to eat, but also provides the creatures of nature a space to put on our own little Discovery Channel.
You may not find “yard work” appealing, or may not live in a space with a yard…but finding a way to supplement your life with more N.E.A.T. will certainly help you in your pursuit of a healthier life. It’s also very likely to help you maintain a more lean body composition.
So besides yard work, what else can I do? Maybe it’s walking or biking to work, or walking to lunch on your work break. Taking the stairs instead of the elevator. Not driving around the parking lot 17 times to find the closest parking spot. Sweeping your house instead of letting the robot do it for you all the time. Whatever the N.E.A.T. is, those that find a way to sneak more non-exercise activity thermogenesis into their lives (getting those extra life reps) can reap the benefits in the gym as well. These low intensity activities can also serve as a great way to flush out some soreness!
Each month we spotlight a different CFA athlete who stands out and shows just how awesome they are. What is it that makes up an Athlete of the Month? It may not be the person that finishes the fastest, Rx’s every WOD, or gets a PR every time they walk in the gym. Although we love and celebrate when those things happen, the Athlete of the Month is made up of much more than physical ability. This person shows up, gives their best every time, and then gives a little more. They are hungry to learn and always ready to do the work. They support their fellow classmates and encourage them to reach their goals. This athlete embodies what we believe the CrossFit Austin Community should be about.
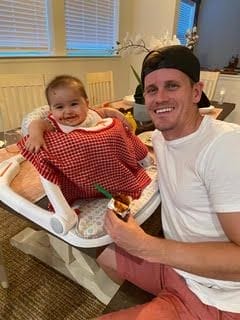
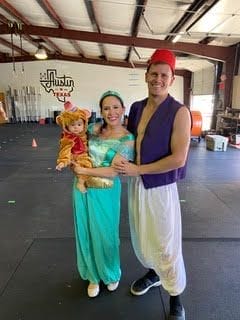
Our August Athlete of the Month is Allison Cleaver! Alli joined the CFA family just over a year ago, shortly after her hubby, Matt! Allison came in with an impressive athletic background (read more about that below!) but she has always been eager to grow and improve! Her competitive spirit and receptive personality make her a really fun person to coach! Alli has made an amazing re-entry to movement in her postpartum period and we love watching her family workout sessions with Matt and Molly! We’ve loved being part of the journey with her and celebrating the wins along the way! Allison, we are honored to have you as our August Athlete of the Month and as an awesome part of this team. Thanks for your all your hard work and we look forward to seeing all you accomplish in the years to come! Congratulations!
State your Name and/or Nickname please: Allison…Nickname: Mini
Words to live by? “Keep showing up”
What is your fitness background? I became a ballerina dancer at 3 years old then retired from dance when I was 18. I found a love for running at the age of 16 and have continued my passion. I ran Cross Country & Track at UT Austin. Hook Em’ Horns! I ran professionally for Adidas post-collegiately and met my husband, Matt! I am also a 2-time US Olympic Marathon Trials Qualifier. Fitness has always been a huge part of my life!
How long have you been CrossFitting? Roughly 2 years.
Take us back to your first day of CrossFit… How did you feel? How do you compare it to workouts today?
My very first CF workout was at the Hopdoddy parking lot. The cardio aspect was very doable but the “lifting heavy weight” portion was intense! Definitely was sore for about a week after my first workout! I absolutely loved it. I feel much stronger now than I was back then.
What’s your favorite part of CrossFit Austin? I love the CF community! Everyone has been very welcoming and the coaches are great!
Current Training Goals/PRs? I REALLY want to learn how to do a muscle-up. Also, I want to break the Guinness Book of World Record Stroller Half Marathon time.
What advice do you have for folks just starting out in CrossFit? PACE YOURSELF. Lots of workouts look “easy” on paper but when it comes down to it, it could end up biting you in the butt! So, adjust your weight accordingly. 😉
As a new mama, how do you balance staying focused in your training and in your life? I make sure I utilize the mornings for “me time”. I go on a run or attend a CF class to clear my head. I feel if I start my day being active, I will be very productive the remainder of my day with my daughter.
What is your cheat meal go-to? I am a huge fan of chips, queso and margarita(s)!
How do you use your fitness outside of the gym? I can lift my daughter up properly and as she gets bigger, I am also getting stronger. (yay!) Also, fitness carries on to the endurance I need for the 12-hour shifts I work!
Tell us about a moment you felt most proud of yourself during a workout.
I cannot pinpoint one particular workout but I will say coming back post-partum pretty quickly has helped me feel proud of myself. It has by no means been easy but it has been so fun to see my progression since baby!
What are the biggest challenges you’ve faced in your fitness journey? Being impatient! I sometimes expect results to happen overnight when clearly, we all know that’s not how life works.
If you could create a WOD and name it for yourself, what would it be?
“Leave it to Cleaver”
Workout:
20 minute AMRAP:
20 x Kettlebell swings (Russian)
20 sit-ups
20 single arm snatch (10 each arm)
10 box jumps
400 meter run
What keeps you going on the days you don’t feel like it? I just suck it up and do it! I always tell myself that I’ll feel better afterwards. Sure enough, I always do. 🙂
What are your hobbies, interests and/or talents outside of CrossFit? My favorite “job” is being a mommy! I also love running, hiking, traveling, eating, being a nurse, and spending quality time with my family.
Tell us something we don’t know about you…
My sister forgot Matt’s ring at the altar on our wedding day. We got married on April Fool’s Day so it seemed pretty fitting. Haha
Leave the fine folks of CrossFit Austin with some parting words…


 How long have you been CrossFitting?